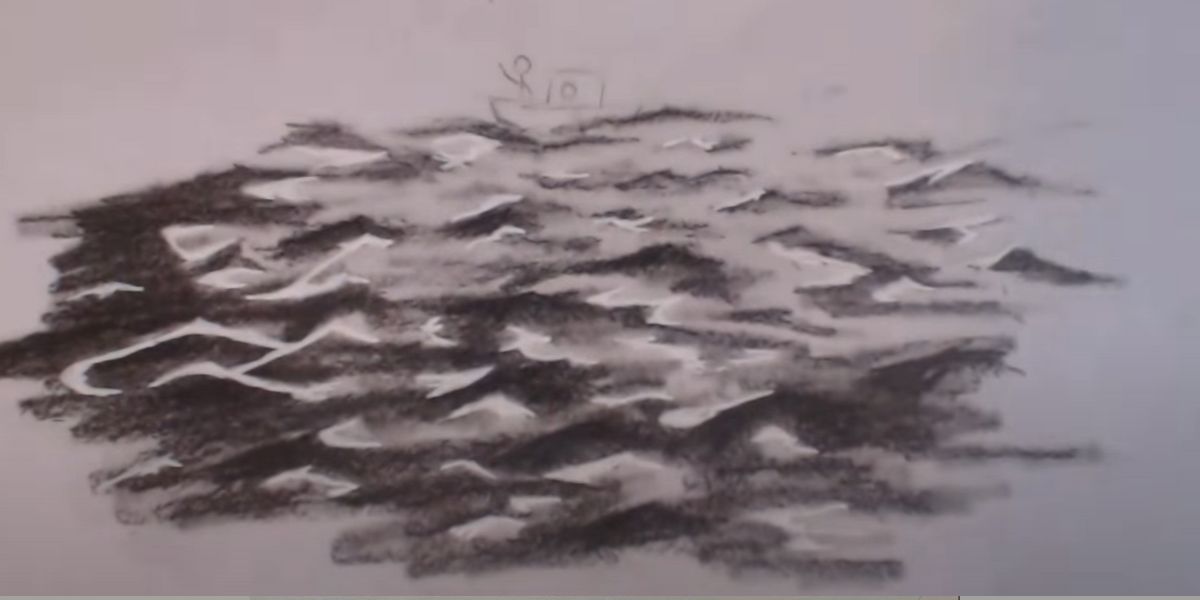
Whether it be for a school project, a personal project, or just to improve your skills, you’re looking for some tips on drawing calm water. I was in the same boat at one point. Except my boat was on water that was anything but calm and sometimes still didn’t quite look right. If you’re having the same issues, then sail with me into the realms of drawing calm water.
Preparing to Draw Calm Water
Take a deep breath (Inhale), and then exhale slowly as if you’re trying to keep your breath from disturbing the surface of the water lying in front of you… (pssshhhhhhhhhhh).
Ok, enough hippie talk. Calm water is characterized by its tranquil surface, subtle reflections, and an air of undisturbed stillness. Before making the plunge (who let me write this, lol), pause for a minute to study these features. It’ll help you in the long run to really analyze what calm water looks like. It’ll look slightly different if it’s a lake vs the ocean, so make sure you’re studying the type of water you plan to recreate.
Materials You’ll Need
To draw calm water effectively, you’d do well to have the following materials on hand:
- Drawing Paper: Pick a heavyweight paper with a smooth surface, which makes for simple mixing and concealing. (See sketchbooks on Amazon)
- Pencil Set: A range of graphite pencils, including H (hard) for light overshadowing and B (delicate) for more obscure tones. Using good mechanical pencils can be fine, too, but not quite as effective. Your best bet is going to be a good brand, such as the Faber-Castell 9000 Graphite Sketch Pencil Set.
- Shading Sticks: Essential for adding smooth gradients and transitions. There’s no need for anything name-brand for this one (IMO), so you could get something like this 6PC Blending Stump Set, and you’ll be fine.
- White Ink Gel Pen: This will be utilized to add highlights and light reflections to your drawing. It’s a little harder to find a high-quality white gel pen, but my recommendation is to just look at user reviews. Qionew has a white gel pen set with 4.4-stars on Amazon.
- Kneaded Eraser: You truly knead this one for drawing quiet water (ba-dum-tss). This is a flexible eraser for taking off excessive graphite and making a few gentler features. My go-to is the Prismacolor 3-pack, and I’m using the same set I bought like 2 years ago, lol.
- Reference Picture: Pick a top-notch reference picture that features quiet water, offering insight into light and reflections.
Drawing Calm Water Step-by-Step
- Preparation:
- Start by intently studying your reference picture. Focus on how light interacts with the water, reflections, and the general atmosphere of the scene. This starter step will give a strong foundation for your drawing.
- Light Sketching:
- Gently outline the water area with a H-grade pencil, creating a framework for your drawing. Note, while this is suggested, it’s not what I do in my model video beneath. Nonetheless, it’ll give much more space for mistakes.
- Add Shadows with Pencils:
- Start shading the water by layering graphite tones using a B-grade pencil. Begin with the areas in shadow, gradually transitioning to darker tones as needed. Use light, even strokes to maintain a smooth appearance.
- Introducing the Shading Stick:
- Employ the shading stick to create a seamless gradient effect. This tool works wonders in achieving a smooth surface of calm water. Blend and layer as necessary to achieve the desired depth and texture.
- Crafting Reflections and Texture:
- Refer to your reference image to identify areas of reflection and texture on the water’s surface. With the shading stick and pencils, capture the gentle reflections of the surroundings, maintaining the direction of the water’s flow.
- Subtle Ripples and Disturbances:
- Even in calm water, subtle ripples and disturbances exist. Use your kneaded eraser to lift off graphite and shape these delicate details. Ensure they are irregular and natural-looking.
- Enhancing with a White Ink Gel Pen:
- Employ the white ink gel pen to add highlights and luminous touches to your drawing. Capture the glistening points where light is reflecting off the water’s surface.
Drawing Calm Water Video Tutorial
Elevating Your Techniques
Once you’ve mastered the fundamental techniques, consider moving into more advanced methods such as:
- Exploring Mixed Media: Introduce color to your drawing using colored pencils or watercolor washes. This technique can bring your calm water drawing to life.
- Incorporating Charcoal: Experiment with charcoal to add texture and a sense of depth to your drawing. The mix of graphite and charcoal can result in awesome contrasts.
- Fine Detailing: Include intricate elements like water droplets, floating foliage, or submerged rocks to enhance the complexity and visual interest of your drawing!.
Tips for Improving
- Be Incredibly Patient: Drawing calm water requires patience. Allow plenty of time for your drawing to come together if you want the best results.
- Study Water: Just go find a calm body of water and sit by it to study and understand how light interacts with their surfaces and how they respond to different lighting conditions. If this isn’t an option, you can look at images of calm water and achieve the same effect.
- Test Different Lighting: Play with different lighting situations in your sketches, such as the sunrise, sunset, or overcast skies to alter the mood of your artwork.
In Summary
There’s a lot of things to consider, but if you follow these steps then you’ll be an expert at drawing peaceful bodies of water in no time. The most important thing is to be patient, and have fun drawing. If you’re not having fun, then take a break. You could even go out to sit by some water to see if it inspires you. Best of luck, and I hope you have a great day!

